



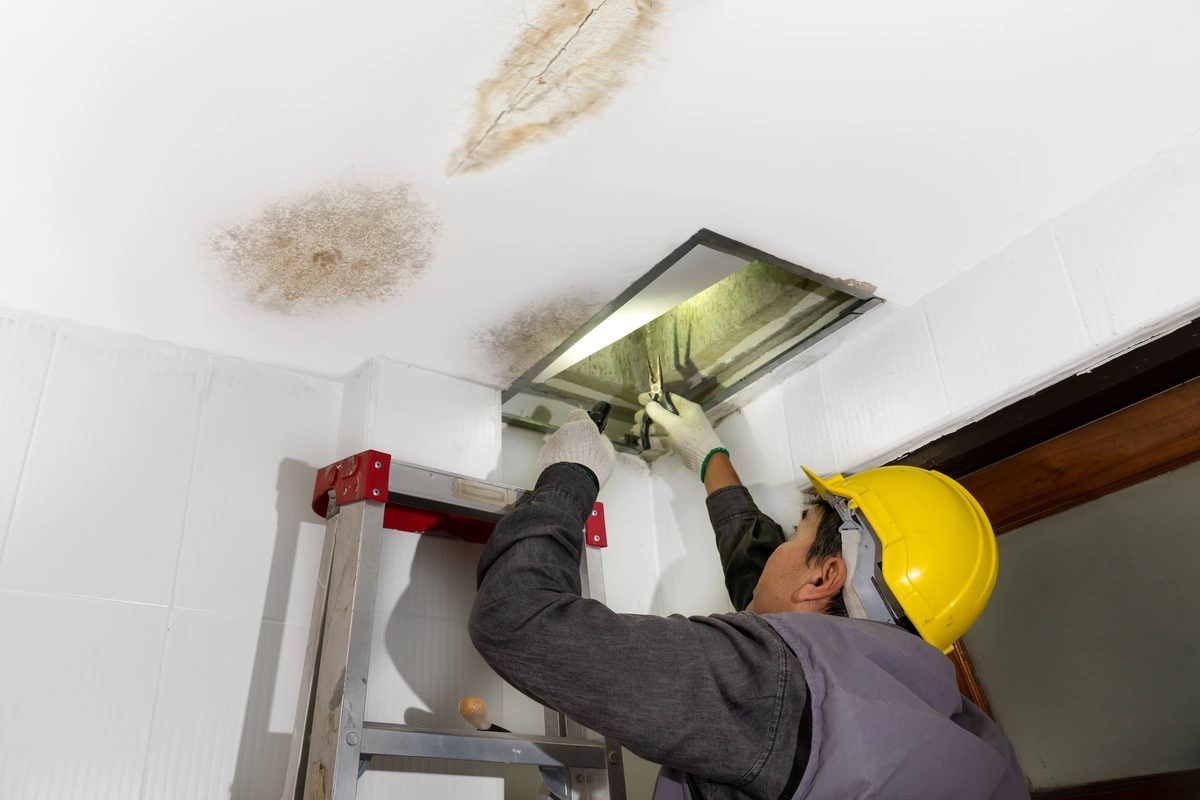
A leaking attic can quickly become a major headache for any homeowner, leading to water damage, mold growth, and structural issues if not addressed promptly. Drying out an attic after a leak is crucial to prevent further complications and restore your home’s safety and comfort. The process involves more than just removing visible water; it requires thorough inspection, proper ventilation, and careful monitoring to ensure all moisture is eliminated. Understanding the right steps to take can make a significant difference in minimizing damage and avoiding costly repairs down the line.
Steps to Restore Your Attic After a Leak
Assessing the Extent of Water Damage
The first step in drying out an attic after a leak is to assess the full extent of the water damage. This involves carefully inspecting the attic space, including insulation, rafters, joists, and any stored items. Water can seep into hidden areas, so it’s important to check for dampness in corners, behind stored boxes, and within insulation materials. Look for signs of discoloration, warping, or a musty odor, which can indicate lingering moisture. If the leak was significant, water may have traveled down into the walls or ceiling below, so inspect adjacent rooms for any signs of water stains or bubbling paint. Identifying all affected areas ensures that no moisture is left behind, which could otherwise lead to mold growth or structural deterioration. Taking photographs and documenting the damage can also be helpful for insurance purposes and for tracking the drying progress.
Removing Water and Increasing Airflow
Once the affected areas have been identified, the next step is to remove any standing water and increase airflow throughout the attic. Use a wet/dry vacuum to extract pooled water from the floor or insulation. If insulation is saturated, it may need to be removed and replaced, as wet insulation loses its effectiveness and can harbor mold. Open any available windows or vents to promote air circulation, and set up fans to help speed up the drying process. Dehumidifiers are particularly effective in reducing moisture levels in the air, especially in humid climates. It’s important to keep the attic well-ventilated during this stage, as stagnant air can slow down drying and encourage mold growth. For homeowners in the area, contacting a reputable company like Roofing Charlotte NC can provide additional guidance and support for addressing attic leaks and ensuring proper drying techniques are used.
Monitoring for Mold and Odors
After the initial drying efforts, it’s essential to monitor the attic for any signs of mold or persistent odors. Mold can begin to develop within 24 to 48 hours of water exposure, especially in warm, humid environments. Check all surfaces, including wood beams, insulation, and stored items, for any visible mold growth or musty smells. If mold is detected, it should be addressed immediately to prevent it from spreading to other parts of the home. Use a moisture meter to check that all materials have returned to normal moisture levels before replacing insulation or closing up the attic. Persistent odors may indicate hidden moisture or mold, so continue to ventilate the space and consider using odor-neutralizing products if necessary. Regular monitoring during and after the drying process helps ensure that the attic remains dry and safe for future use.
Quick Tips for Preventing Future Leaks
Preventing future attic leaks is just as important as addressing the current issue. Regularly inspect your roof for missing shingles, damaged flashing, or clogged gutters that could allow water to enter the attic. Ensure that attic vents are clear and functioning properly to maintain good airflow and reduce humidity. Address any signs of roof damage promptly to avoid repeat leaks and further water damage.
Repairing and Restoring the Attic
Once the attic is completely dry and free of mold, it’s time to repair and restore any damaged materials. Replace any insulation that was removed during the drying process, choosing moisture-resistant options if possible. Repair or replace any damaged wood, drywall, or ceiling materials to restore the attic’s structural integrity. If the leak caused significant damage, it may be necessary to repaint or refinish affected surfaces. Take this opportunity to improve attic ventilation or add vapor barriers to help prevent future moisture problems. Restoring the attic not only improves the appearance and functionality of the space but also helps protect your home from future water damage. Regular maintenance and prompt repairs are key to keeping your attic dry and safe year-round.
Conclusion
Drying out an attic after a leak requires careful attention to detail and a systematic approach to ensure all moisture is eliminated and future problems are prevented. By thoroughly assessing the damage, removing water, increasing airflow, monitoring for mold, and making necessary repairs, homeowners can restore their attic to a safe and functional condition. Taking proactive steps to maintain your roof and attic will help safeguard your home against future leaks and the costly damage they can cause. Addressing attic leaks promptly not only protects your property but also ensures a healthier living environment for you and your family.
